If you’re looking to make an impact at your next holiday bash, there is no better way than with a bold and unique manicure. But why not take it up a notch and go for something truly special – why not try one of the classic retro looks that look amazing on any occasion? A striking combination of long-forgotten nail trends, these vintage styles are returning to the spotlight thanks to modern twists. So if you want to WOW when walking through those party doors, read on for our top picks on achieving some stunning retro manicures for your upcoming shindig!
Festive retro manicure looks for your next holiday party
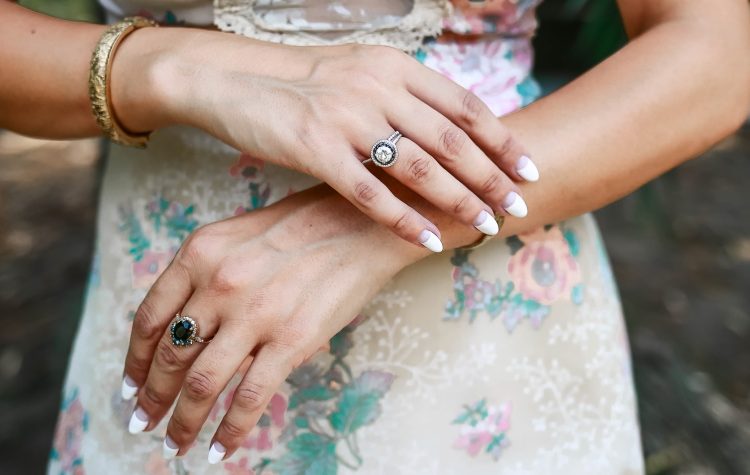
When it comes to the holidays, there’s nothing quite like a retro-looking manicure to complete your look. Whether heading to a fancy dinner party or hitting up the local dive bar for fun, these vintage-inspired looks will have you feeling festive in no time.
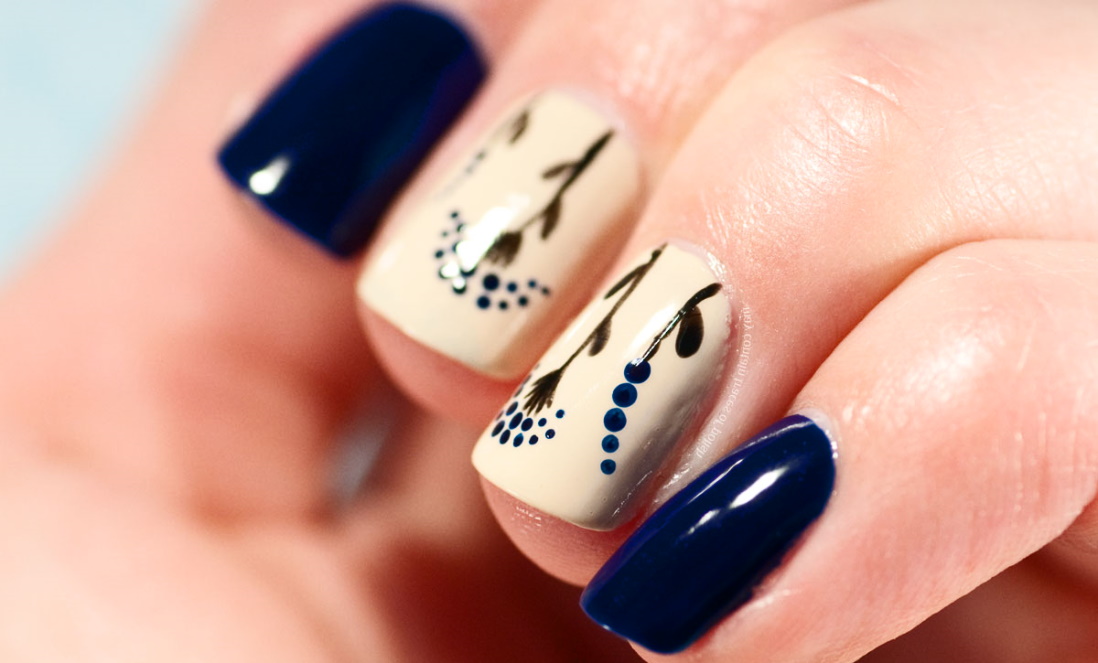
For a classic red and gold Christmas mani, start with a base coat of bright red polish and add some glittery gold accents and snowflake detailing. You can also add sparkly rhinestones for extra glitz and glamour. If you want something more subtle but still chic, opt for a matte black shade with tiny silver stars as an accent nail.
For New Year’s Eve gatherings, a sparkly silver and white mani is always a hit. Start with a clean base coat of sheer silver polish, and then add small, iridescent rhinestones to the ends of your nails for an extra special touch. You can also opt for a more subtle look by combining two shades of purple in ombre-style stripes. Finish off the look with tiny gold stars or snowflakes as accents on one or two of your nails.
No matter what kind of manicure you choose, remember to apply cuticle oil throughout the week to keep your hands looking hydrated and healthy. With these tips in mind, you’ll be sure to impress at your next holiday gathering!
How-to get the perfect vintage manicure
- Start off by clipping and filing your nails into the desired shape.
- Next, apply a base coat of polish to each nail. Take care to pay special attention to the tips, which will help reduce chipping later on.
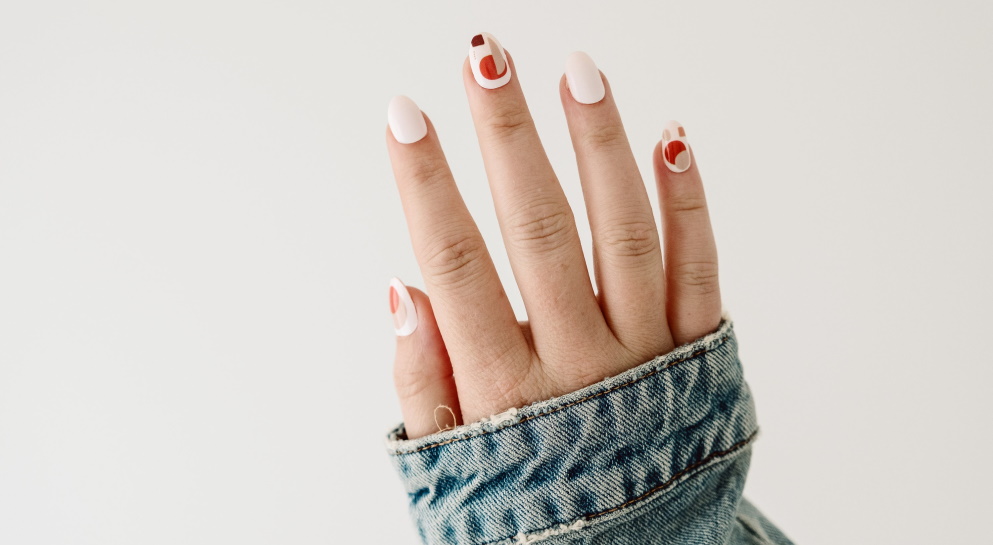
- After the base coat is dry, apply two coats of vintage-style nail polish in any color or combination of colors you like! Choose shades with a bit more sheen rather than full-on glittery sparkle to get that classic vintage look.
- Once the second coat of polish is dry, add a layer of topcoat for extra protection and shine. This step is especially important if you’re using light colors or metallics, as it will keep them from chipping too quickly.
- When everything is dry, finish with cuticle oil to nourish and hydrate your nails.
- For the final touch, use a toothpick or dotting tool to create simple patterns or designs on each nail. If you’re feeling adventurous, you can try something more intricate!
Now your vintage-inspired nails are ready for the world! Enjoy your new look and feel confident knowing you created it all by yourself.