Do you want to get a perfect shellac manicure at home but need to know how? It’s not as hard as it looks! With the right tools and techniques, an amazing-looking, long-lasting shellac manicure can be yours with little effort. From selecting the best products to mastering application skills, we’ll walk you through every step so you can confidently achieve salon-level results in your home. Let’s learn together how easy and enjoyable creating a beautiful DIY shellac manicure is!
The pros and cons of a shellac manicure
Shellac is a durable, chip-resistant polish that can last up to two weeks with proper care and maintenance. The biggest pro of a shellac manicure is its long-lasting nature—it can look freshly applied for much longer than regular nail polish. So for people who don’t have time to frequently re-apply their nails or don’t want chips and cracks in their polish, shellac is a great option.
The downside of a shellac manicure is that it can be quite expensive and time-consuming compared to other types of manicures. It requires several layers of application and special curing lights to achieve the desired result, which can be costly and time-consuming. Additionally, shellac may damage your nails if not applied correctly, so it is important to have a professional manicurist do your nails to avoid any issues.
It is also important to keep in mind that the removal process for shellac can be difficult and can cause further damage to the nail bed if done incorrectly or too often. Therefore, it is important to find out what type of removal solution your salon uses and ensure that it does not contain any harsh chemicals that could damage your nails.
Ultimately, whether or not a shellac manicure is right for you depends on your individual needs and preferences. For example, if you are looking for a long-lasting manicure with minimal maintenance, shellac may be the perfect solution. However, a regular manicure may be the better choice if you are looking for a less expensive and less time-consuming option. Whatever you decide, consult with your professional manicurist beforehand to help you make the best decision for your nails.
The final decision is ultimately up to you, and it is important to weigh all of the pros and cons before making your choice. Shellac manicures can provide long-lasting results with minimal maintenance when done correctly; however, it is also important to consider the cost and possible damage that could occur from improper application or removal. Ultimately, whatever type of manicure you choose, consult with a professional manicurist beforehand to ensure that you get the best results.
No matter what kind of manicure you decide on, it is important to take good care of your nails. Make sure to keep them properly hydrated and avoid activities that could cause damage to the nail bed, such as biting or picking at the polish. Additionally, be sure to follow the instructions given by your manicurist for proper maintenance and removal so that your nails remain healthy and look their best!
At-home shellac manicure: the ultimate guide
If you’re looking for a quality, professional-looking finish that will last for weeks, then a shellac manicure is the way to go. But rather than spending time in a salon or having to bring in an expert manicurist, here’s how you can give yourself a perfect shellac manicure at home.
Before beginning your DIY shellac manicure, make sure to gather all of the necessary supplies: nail polish remover, cotton balls or pads, rubbing alcohol (preferably 91%), base coat nail polish and top coat with UV inhibiter protection, cuticle pusher and oil, cuticle nippers (optional), nail file and buffer, lint-free cloths like cheesecloth, and a hand cleaner or moisturizer.

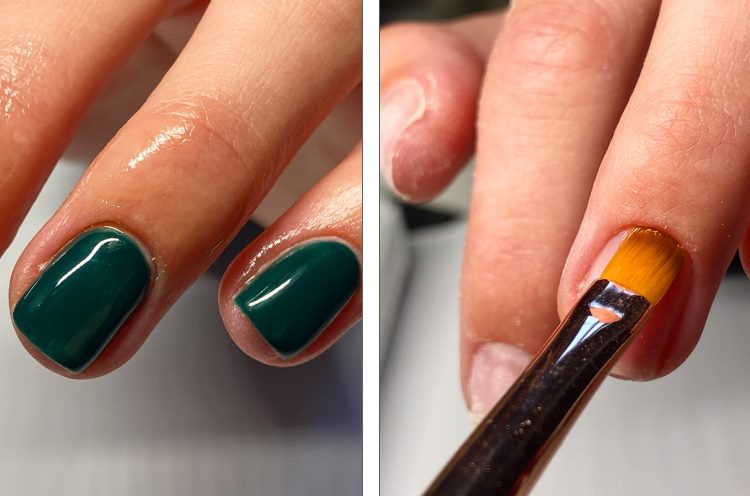
You’ll want to remove any existing polish with the nail polish remover and cotton balls, then use the rubbing alcohol on each nail to remove any oils or residue. Next, use the cuticle pusher to push back your cuticles gently, but don’t trim them – you can use cuticle nippers if necessary. Then use a nail file and buffer to shape and smooth out your nails before wiping them down with the lint-free cloths.
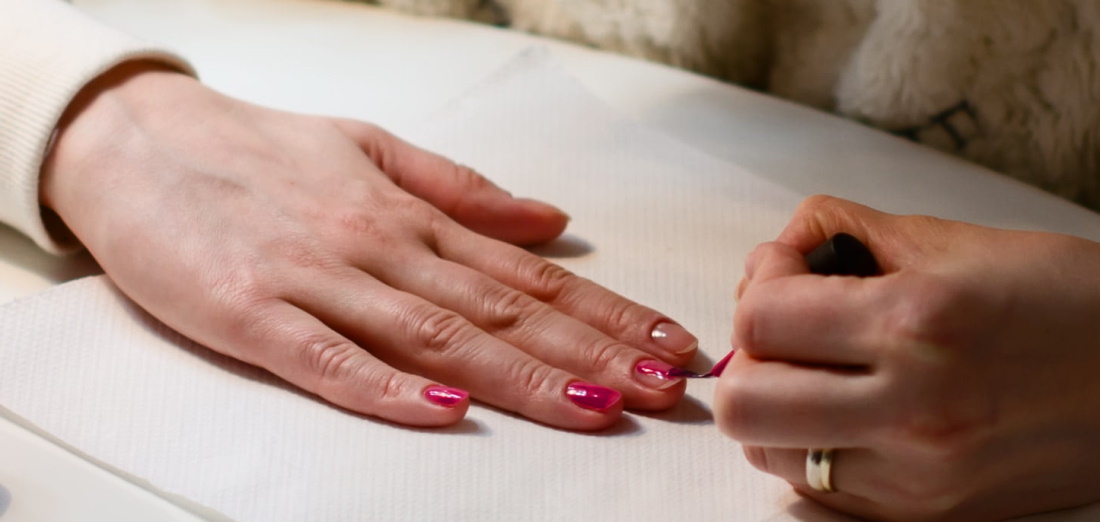
Now it’s time for the actual shellac manicure. Begin by applying a thin coat of base coat polish, then cure those nails under UV light for 2 minutes. Follow that up with two thin coats of your chosen shellac nail polish, curing each coat for 2 minutes in the UV light. Finally, finish up with a top coat of polish, curing it for 3 minutes in your UV lamp.
When you’re done, use a hand cleaner or moisturizer to rub off any sticky residue and ensure that your nails are completely dry before touching them. That’s it! You now have perfectly applied Shellac Manicure at home. Enjoy your beautiful long lasting manicure!
That’s all there is to get a perfect shellac manicure at home – follow these steps, and you’ll be enjoying salon-quality nails right in the comfort of your home. Happy DIY-ing!